One reason for that is, that there is no possibility to map the Diffuse Color Texture independently from the Self Illumination (Emissive) Map, as mentioned in my Texture Baking Tutorial. This means that repeating color information such as tiled Texture Maps, have to be stored over and over again, for every face of your Model uniquely. In result of this fact it also means that you are heavily restricted the Level of Detail, that you can achieve on your Diffuse Color Texture.
It means also, the more complex your models get, the less pixelinformation per face you have, which again may result in distortions and undesired blurring effects along the Map Seams. Map Seams are basicly open edges in UV Space.
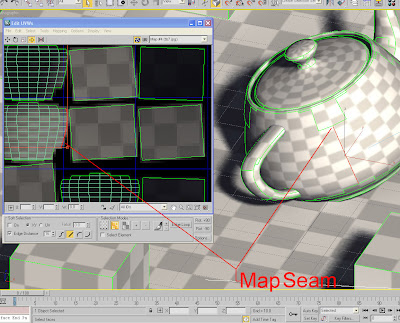 As you can see in the image above, Map Seams are always adjacend to the dark void of the Backround Color. So on low texture resolutions and/or zooming out in your 3D model inside 3Dpdf, it may happen that the Background Color mixes/blurs with the actual pixelinformation of your face. In other words: Approximation inaccuracies for performance gains.
To avoid this problem we have to somehow "duplicate" the edge pixels of the faces. I will explain the neccessary Texture Map Processing by using Adobe Photoshop:
After rendering your Baked Map save your image for example as .tiff image file with alpha map, or any other file format with alpha map support.
After opening the Baked Map in Photoshop double click on the Background Layer, so it creates a new Layer (Layer0) that you can apply a Layer Mask to.
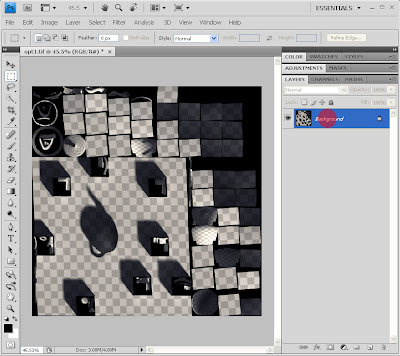
Copy the complete alpha channel 1...
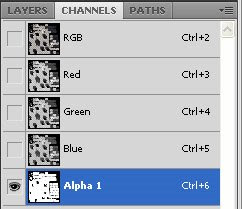
to a new Layer Mask...

paste the copied alpha channel into Layer 0 Mask...
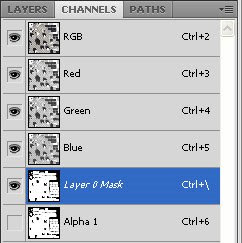
...and apply it.
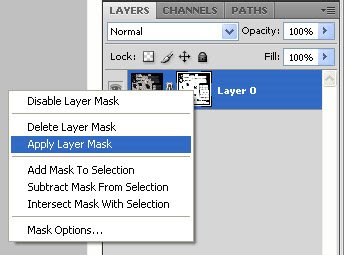
Now duplicate Layer 0, call it Layer 1, and apply Gaussian Blur with a value of 6 px to Layer 0, and duplicate Layer 0 over and over again.
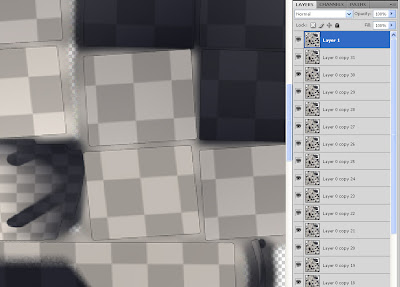 You might notice the little hard edge between the polygon texture and the blurry background, which results from the Anti Aliasing between the polygon texture and the black background.
To get rid of that select all black pixels of Layer 1/Channel alpha 1, expand your selection by one pixel, and delete your selection in Layer 1.
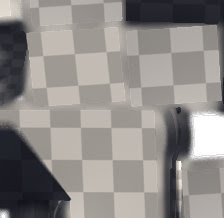
Now you can save your image for example as .jpg image file, the alpha channel is no longer needed. This procedure also comes handy, if you want to downsize your Baked Maps for graphics cards with lower amount of video memory. Because you have to go through this procedure over and over again, I recommend to create a Droplet for that work.
can't you up the padding in the render to texture interface to get the same effect?
ReplyDeleteHi, yes edge padding does the same as the photoshop procedure, well it should. I had trouble making it work, and then overlapping problems when the edge padding size was bigger than the cluster distance. Thats why I prefer the ps procedure, and with a droplet its not so much of extra work.
ReplyDelete